

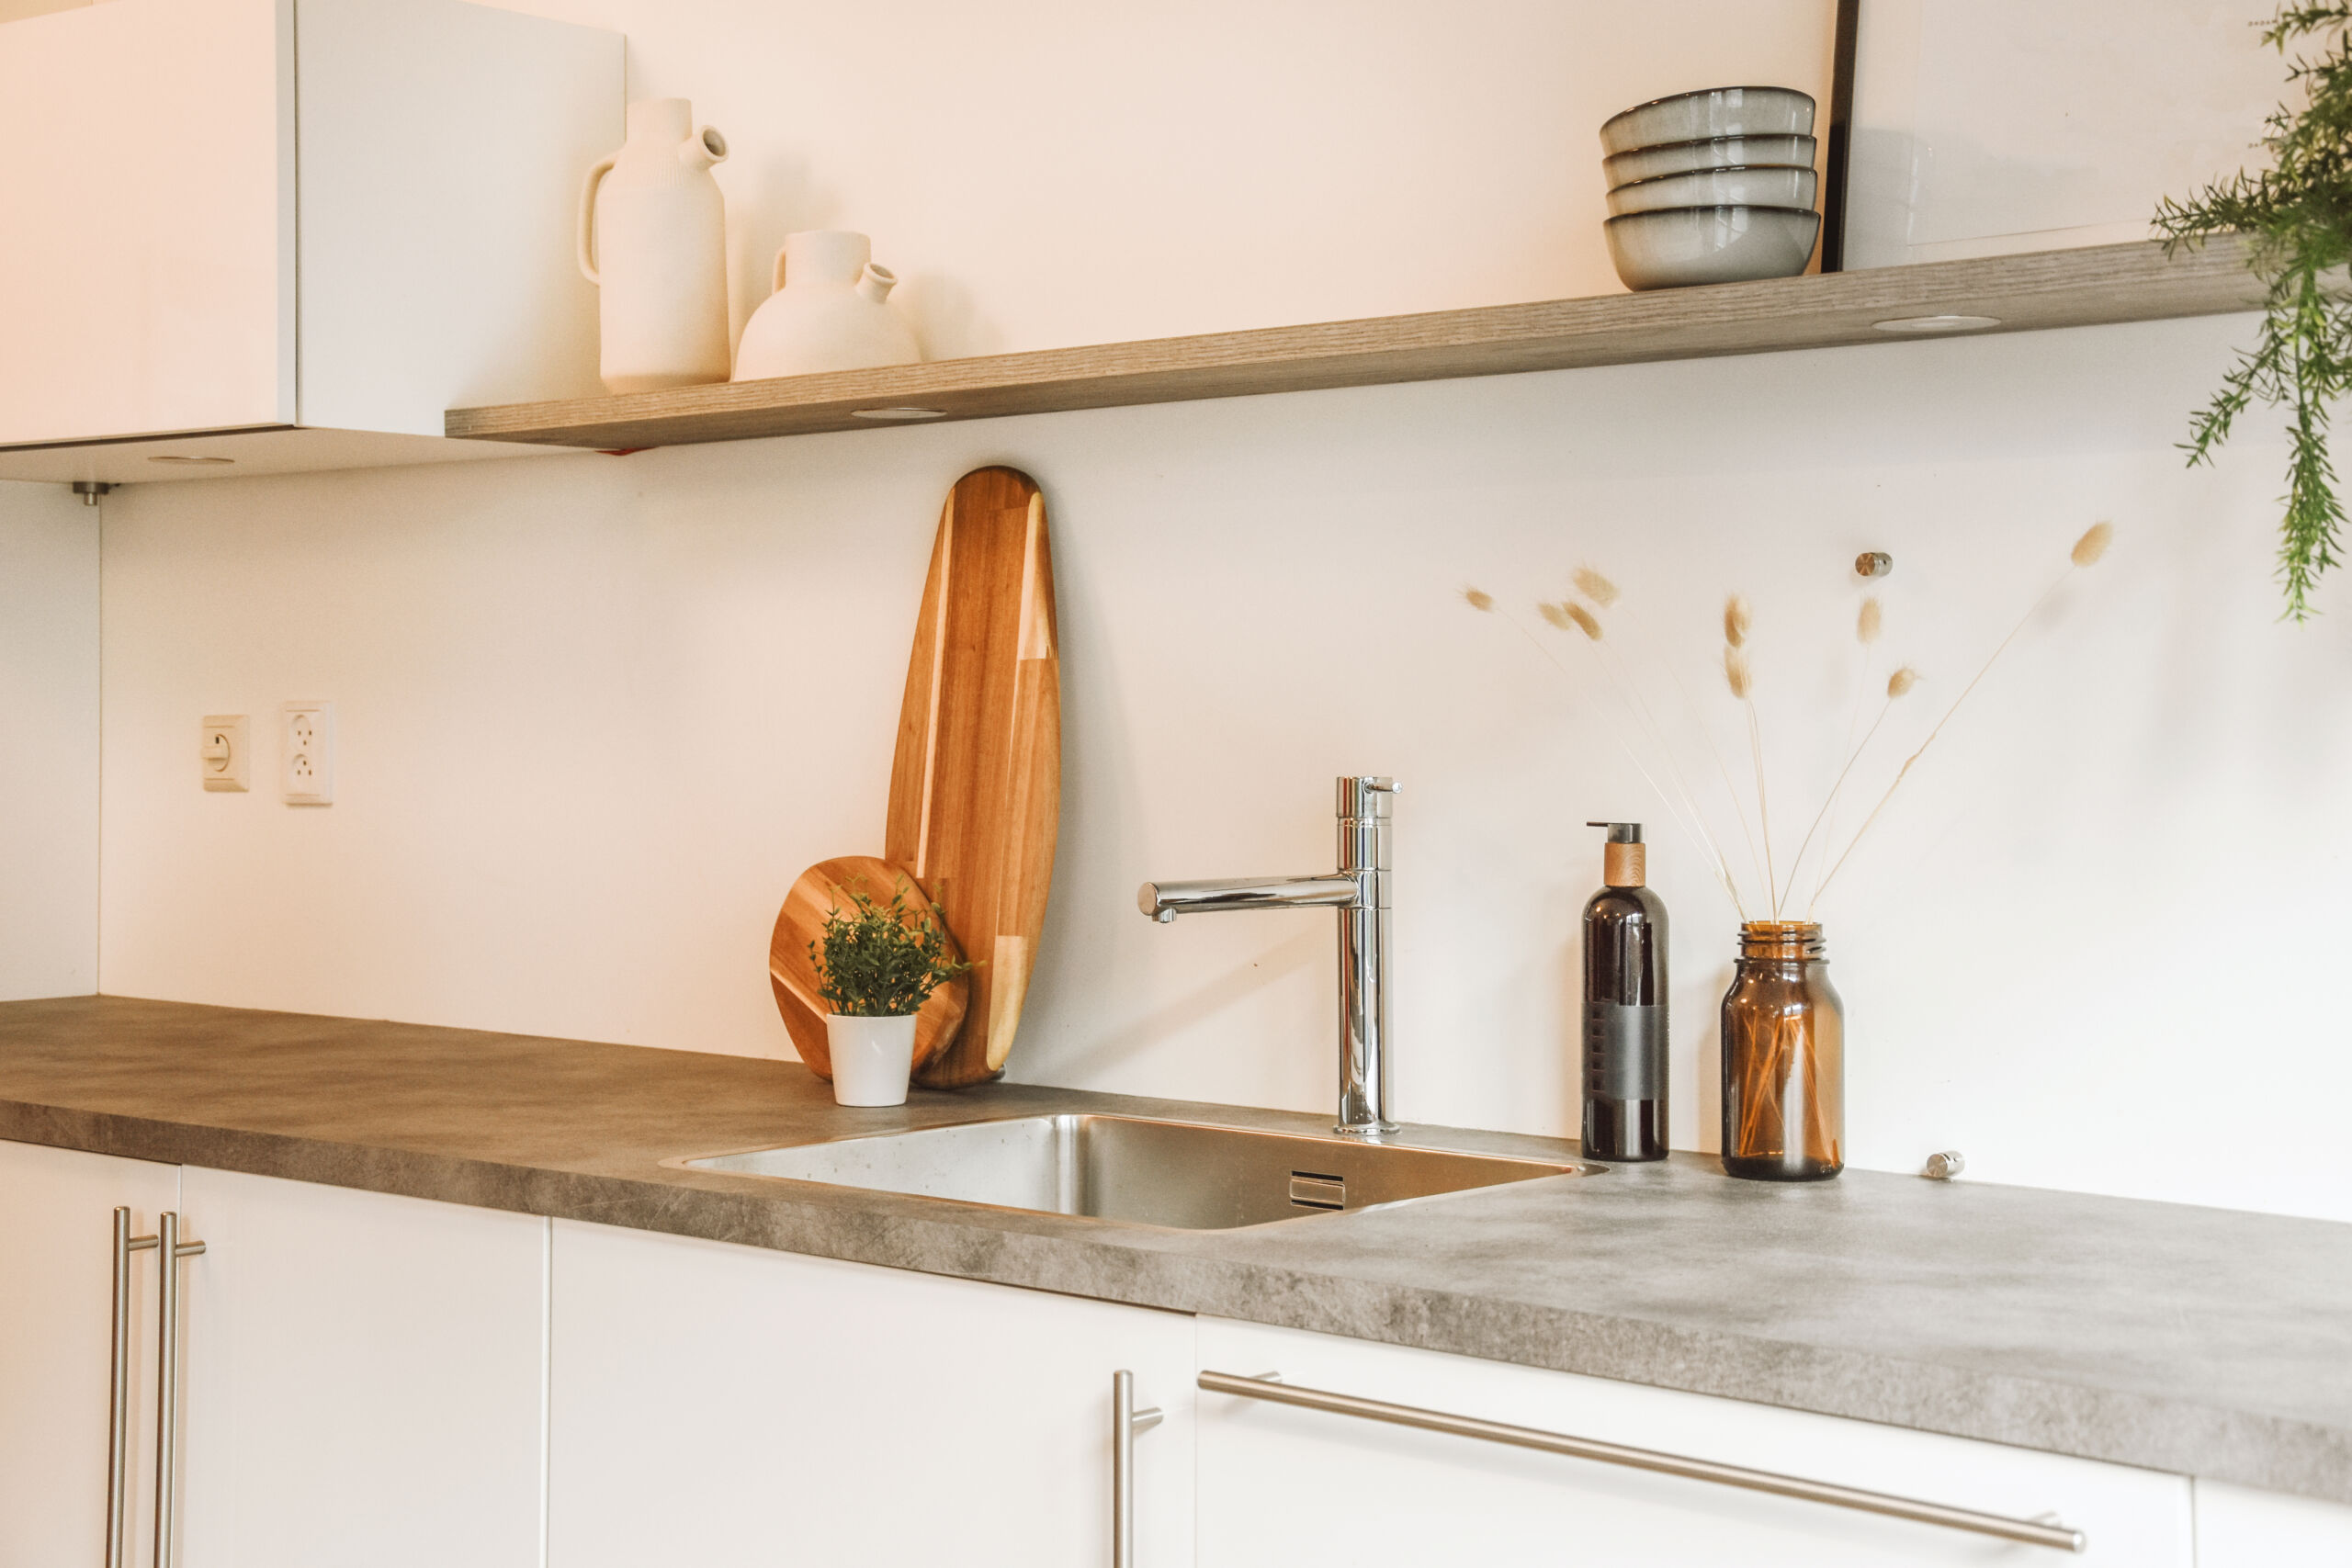
Many people think a concrete-look worktop must be heavy, costly, and difficult to install – yet microcement delivers the same sleek aesthetic with a feather‑light build, precise detailing, and kitchen‑grade durability when done correctly.
Read about microcement: micro cement bathroom
Plan a bespoke microcement worktop: design, specs, and budget
Start with a tight brief: what’s the style, how will it be used, and what are the constraints? Sketch the layout with length, depth, corners, overhangs, and any upstands. Choose a stable base – MDF, ply, cement board, or concrete – and enforce flatness ≤2 mm over 2 m so the finish looks razor-clean. Lock in the details: a crisp 2–3 mm arris radius on edges, undermount or inset sink, induction or gas hob, optional drainer grooves, and a matching splashback. Get the vibe right with a neutral colour palette and matt/satin finish; plan lighting to show off the texture instead of exposing flaws. Keep the system lean: a 2–3 mm build adds minimal weight, but double‑check appliance clearances. Place joints above substrate seams and leave 3–5 mm movement gaps at walls, then specify a tough 2K PU waterborne sealer for stain and heat resistance – because a worktop should survive weeknight chaos, not just a photoshoot.
Nail the numbers or pay for it later. Budget for primers, mesh, base coats, finish coats, sealer, PPE, tools, and a sanity‑saving contingency. Use a simple material calculator: total m² × coats ÷ product yield, then add 10–15% waste. A realistic materials range is £85–£130/m². A clean spec reads fast: 3000 × 620 mm straight run, 20 mm front overhang, 2 mm eased edge, 100 mm upstand, 500 mm undermount sink with 5 grooves, 600 mm induction hob with 50 mm edge clearance, 25 mm moisture‑resistant MDF base, single seam above dishwasher rail, warm grey (NCS S 4500‑N), satin low‑sheen, 2K PU sealer. The conclusion is blunt: a precise brief, verified flatness, and disciplined detailing are what separate a sleek microcement worktop from a headache – plan it like a pro, and the installation becomes execution, not improvisation.
Check out the microcement kits: bathroom microcement
Prep the base and workspace for a flawless finish
Prep is 80% of success, so get ruthless with the setup. Lock in the room conditions at 15–25°C and 40–65% RH with no direct sun or draughts, then mask cabinets, appliances and floors, and isolate dust with sheeting – clean air equals a clean finish. Audit the substrate: screw-fix any loose boards, confirm stiffness to L/360, and scribe level shims where needed. Run a proper moisture test – timber must be ≤12% MC, cement ≤4% CM; if it’s high, stop, ventilate, dehumidify. Chase flatness: plane or sand highs, fill lows with a fibre‑reinforced filler, then vacuum with a HEPA. Ease all corners and edges to about 2 mm radius and add PVC/metal trim where impacts or tile abutments are likely. Prime with a manufacturer‑matched primer, rolled thin and even, and respect the data sheet dry times. Reinforce stress points – seams, sinks, hobs – with alkali‑resistant mesh fully bedded. For cut‑outs, seal exposed MDF with epoxy or PU and confirm your sink/hob templates actually fit. Stage tools like a pro: steel and flexible trowels, mixing paddle, 120–240 grit abrasives, HEPA vac, rollers, scales, timers, work lights, and PPE (FFP2 mask, gloves). Pro move: do a postcard‑sized test patch on an offcut to lock in colour and texture before you touch the real thing – cheap insurance for a sleek microcement countertop.
Case study – compact kitchen retrofit: a London galley kitchen with wobbly chipboard worktops failed at L/360 and had RH at 70%. The team corrected stiffness with extra bracing, dropped humidity to 55%, planed high seams, filled a 3 mm dip around the hob with fibre‑reinforced filler, and rounded edges to 2 mm to prevent telegraphing. They sealed raw MDF cut‑outs in epoxy, bedded alkali‑resistant mesh at the sink seam, and used the brand’s own primer – rolled whisper‑thin and fully flashed off. A quick test patch saved them from a too‑cool grey; they pivoted one shade warmer to match the cabinets. Result: glass‑smooth, stain‑resistant microcement with tight edge detail, zero pinholes, and a rock‑solid base ready for sealer. This is what a dust‑controlled, data‑sheet‑driven prep delivers – durability, adhesion, and that hyper‑clean look clients actually pay for.
Apply microcement in layers: pro trowel technique and timings
Keep mixes small and disciplined: weigh components, mix for 2–3 minutes at low speed, let it rest a minute, then remix 30 seconds. Work wet‑on‑dry, never wet‑on‑wet, to lock down a crisp surface. Lay Base coat 1 as a tight skim at 0.5–0.8 mm, embed mesh at sinks, corners and hob cut-outs, then feather edges so you don’t telegraph ridges. Watch the dry check: you want a uniform matte look with no cold tack – typically 3–6 hours at 20°C. De‑nib with 120–150 grit, vacuum like you mean it. Apply Base coat 2 at another 0.5–0.8 mm, cross‑trowel to flatten highs. For the finish coat go lean at 0.3–0.5 mm, run long strokes for minimal texture, close the trowel angle to lightly burnish – don’t scorch. On edges, pull material over the nose in one confident pass and clean the underside return. Respect drying windows; cooler rooms take longer, and don’t force‑heat unless you enjoy microcracks and blush. Final sand at 180–240 grit, keep it even, then vacuum and tack‑wipe. Run quality checks: no pinholes (quick mist‑water test), no proud mesh, uniform sheen. Typical rhythm: Morning – Base 1; Afternoon – Sand + Base 2; Next morning – Finish coat; Afternoon – Sand + sealer prep.
Case study: compact galley kitchen worktop – Owner wanted a sleek, low‑texture microcement countertop without lippage at the sink. Crew kept mix batches to 2 kg to control open time, embedded alkali‑resistant mesh around tap penetrations, and cross‑trowelled the second base to kill tramlines. They waited to a true matte dry before sanding; a rushed test panel showed tack transfer and later pinholes, so timings were tightened. Finish coat went on at 0.4 mm with shallow angle passes; edges were pulled once over a waxed nose to avoid drag. Final sand at 220 grit delivered a uniform sheen and zero pinholes on misting. Net result: durable, seamless microcement worktop with crisp edges, ready for sealer the same afternoon – no heat guns, no drama.
Seal, cure, and finish for kitchen‑grade durability
Sealer makes or breaks performance, so treat it like a surgical job: clean surface, thin coats, and patience. If the spec calls for it, start with a pore fill using a microprimer or densifier and let it dry fully – no shortcuts. Choose a 2K waterborne polyurethane (PU) sealer for serious stain resistance, heat resistance, and a stable non‑yellowing finish; pick matt, satin, or gloss to match the design intent. Measure by weight for accuracy, respect any induction period, then lay down Coat 1 with a microfibre roller at roughly 120–160 g/m²; tip‑off lightly and police the edges so they don’t load up. Let it flash off 30–60 minutes – no dust, no breeze – then apply Coat 2 at the same load and cross‑roll to dodge lap marks; add a third coat for heavy‑use kitchens or households that are hard on surfaces. Performance basics still apply: use trivets because gas pans can blast past 250°C, and wipe wine, turmeric, and lemon fast if you care about your sheen. Final sign‑off is ruthless: uniform sheen, no dry‑roller marks, corners wrapped, and every millimetre of the sink cut‑out sealed like you mean it.
Sealer comparison for microcement worktops
| Sealer Type | Stain Resistance | Heat Tolerance | Sheen Options | Typical Lifespan | Where It Fits | Notes |
| 2K Waterborne PU | High (coffee, wine, oils) | Good (short contact up to ~120–140°C; trivets for pans) | Matt, satin, gloss | 5–8 years | Kitchen worktops, utility rooms | Low odour, fast recoat, non‑yellowing; needs accurate mix ratio |
| 1K Waterborne PU | Medium | Moderate (~90–110°C) | Matt, satin | 3–5 years | Light‑duty tops, shelves | Easier to use, less chemical resistance |
| Solvent PU (2K) | High | Good | Satin, gloss | 6–10 years | Commercial bars, busy kitchens | Stronger odour, careful ventilation, potential ambering on pale tones |
| Hardwax Oil | Low–Medium | Poor–Moderate | Natural matt | 1–2 years | Feature shelves, low‑traffic | Warm look, but not kitchen‑grade on microcement |
Curing is non‑negotiable. Respect the clock or pay with rings, blush, and stains. Keep it dust‑free for the first day, gentle usage after 48 hours (no standing water), normal kitchen duty by day 5–7 while still avoiding hot pots, and only push chemicals and abrasion at 14 days when the film is fully hard. Use this as your go/no‑go plan:
| Time after final coat | What’s allowed |
| 12–24 h | Light dust‑free exposure; no use |
| 48 h | Gentle use; no standing water |
| 5–7 days | Full kitchen use; avoid hot pots |
| 14 days | Maximum chemical/abrasion resistance |
Care, repairs, and long‑term upkeep of microcement worktops
Microcement worktops stay stunning only if you treat them like a high‑performance finish, not a chopping block. Keep it simple: daily wipe‑downs with a pH‑neutral cleaner and a soft cloth; skip abrasives and skip steam wands that can lift sealer. Once a week, scan the high‑traffic zones – prep strip, by the hob, and around the sink – catch trouble early. Spills? Move fast. For stains, let a pH‑neutral cleaner dwell 2–3 minutes, then wipe clean. Respect heat: use trivets for anything over 80–90°C and avoid thermal shock (don’t slap hot pans next to ice). Light micro‑scratches polish out with a non‑abrasive pad; deeper marks respond to a careful 240‑grit kiss, then spot re‑seal with a feathered edge over 200–300 mm. Edge chips? Pack with colour‑matched repair paste, sand flush, and dab sealer. Follow a sensible reseal cadence: 24–36 months for light use, 12–18 months for heavy kitchens – clean, abrade with 240 grit, vacuum, then apply 1–2 thin coats. Hard no’s: bleach, oven cleaner, vinegar soaks, coloured oils on bare spots, or adhesive tapes on fresh sealer. Handovers should include a care card, colour code, product data sheets, and the next reseal date so no one plays guessing games later.
If things go sideways, here’s the blunt truth playbook. Pinholes popping up? Clean, skim a microfiller, and re‑seal. Water darkening at the sink signals sealer fatigue – dry the area 24 hours, abrade lightly, and re‑seal edges. Shiny patches usually mean uneven sealer; de‑gloss gently and lay a thin, uniform coat. Treat your microcement countertop like premium kit and it pays you back with long, low‑drama service. Conclusion: clear rules, quick reactions, and scheduled reseals keep your microcement worktop looking razor‑clean and performing like it did on day one – no fuss, no excuses.
